
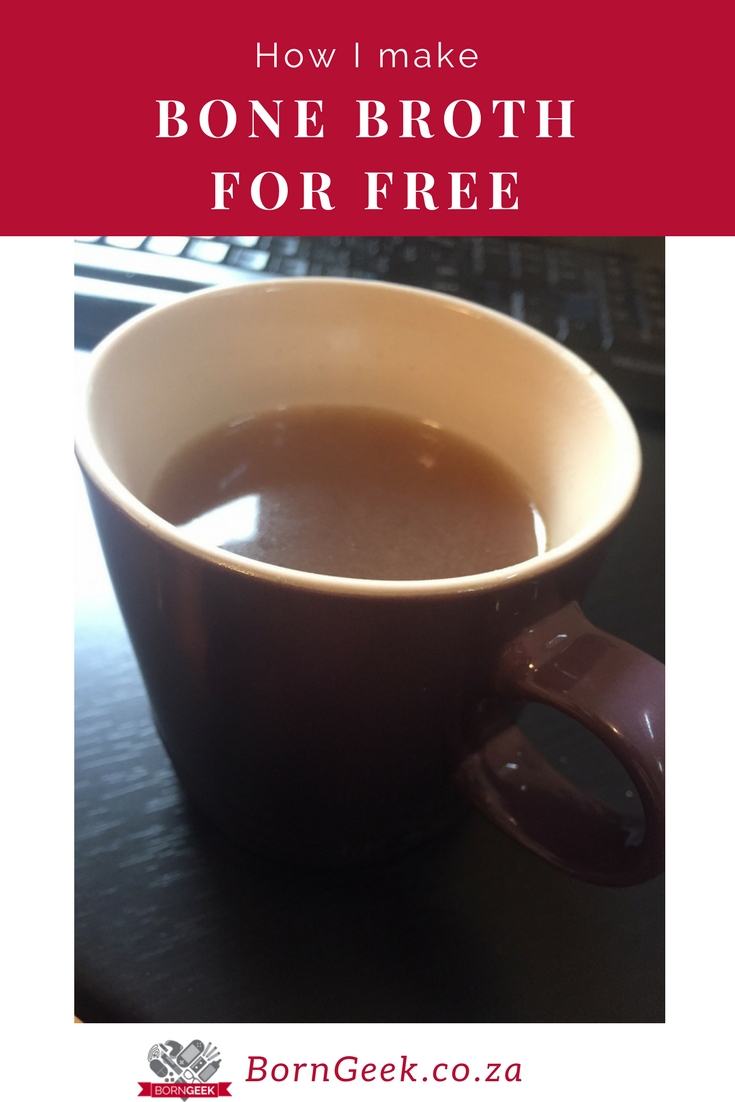
If you’ve spent any time looking into healthy living advice online, you’ve probably heard the benefits of bone broth. This magical elixir is credited with giving you healthy hair and nails, improving your digestion and generally just curing every malady you can think of. Let’s get real here for a second, though – bone broth is essentially stock, as it’s been called for many years, and you can make bone broth for free.
I love to do this on a regular basis. It saves me money on other recipes, plus it means I get to enjoy drinking a couple mugs of broth during cool winter afternoons and evenings. Maybe it’s good for digestion, and the collagen might be helping my skin, but mainly it’s a great source of extra nutrients and flavor that doesn’t cost me anything.
It all starts with a freezer bag. I prefer these easy zip Ziploc bags, but I’m also a Ziploc snob who can’t switch or go back to lesser freezer bags after experiencing the good stuff. So use your freezer bag of choice, but pick one that can be easily opened and re-sealed. Then, consume your usual stuff from cooking, but save the scraps. Chicken bones, the bits you cut off onions and garlic cloves, carrots and other root veggies. Just make your usual meals, but keep the scraps in your awesome freezer bag, stored in your freezer.
Once you have a bag full of scraps, throw them in your stock pot. I have finally gotten my dream stock pot. It’s ridiculously massive and can hold quite a lot of fluid, but I used to just make stock with my largest pot and it still works fine. Get all the scraps in the pot and top up with water. You can add a small amount of salt and some peppercorns at this point in the process – you want to be careful not to overseason, though.
Put your stock pot on a medium-low heat until the liquid just starts to bubble, and then turn it down to simmer. How long should you simmer your stock? How much time do you have? Yes, I know I just answered a question with another question, but it really is up to you. Chicken stock really doesn’t need long, and will probably be ready in a matter of a couple hours, while beef stock just keeps getting better the longer you cook it.
After 2-8 hours, you’ll want to strain out all the solid pieces. I usually start with a slotted spoon to get out all the big stuff and then use a sieve for the smaller particles. Taste your stock and add more salt if necessary – it should taste rich, with a deep flavor.
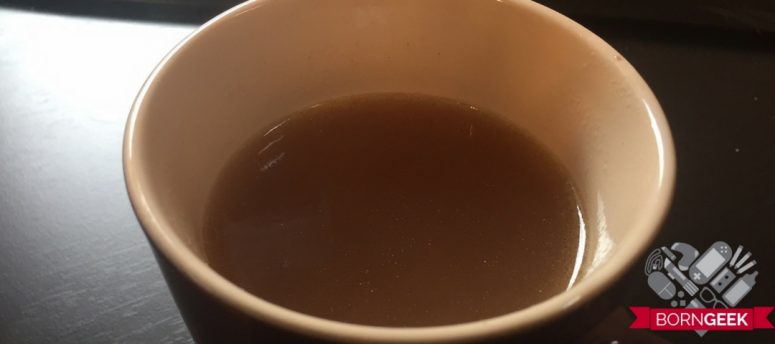
Now, the choice is yours. You can keep it on the stove and drink it one mug at a time, as Dean and I did this winter during a cold snap. You can also use it in other recipes as you need it, or you can pour it into containers and store it for later use. At least now you shouldn’t need to buy stock cubes again plus you can enjoy whatever health benefits you actually experience from bone broth for free.
In a nutshell, that’s:
- Collect scraps in freezer bag
- Simmer in giant pot for 2-8 hours
- Strain
- Enjoy bone broth for free
Pro tip: For a super easy butternut soup, roast a butternut in the oven until soft. Scoop out the flesh, ladle over some stock and blitz. You can keep adding stock until you get the right consistency. Cheap, easy and delicious!
DID YOU LIKE THIS POST?
If you like these words, please check out more of what I say on twitter and Facebook, and pics I take on Instagram and subscribe to my YouTube channel and follow me on Pinterest.
Also, please be sure to sign up to my carefully curated, crafted and infrequent newsletter.